

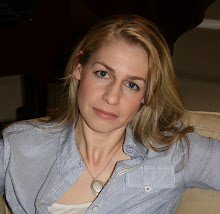
I just love beach houses, and blue and white. . .and this picture.




.jpg) Sometimes it is fun to take a picture and change to effect with a color wash on black and white to bring out the one thing you want to draw attention to. I took this picture of a neighbor boy because I thought it was funny. It is cute as is, but I wanted to play with it and I think the result is fun. Here is what I did:
Sometimes it is fun to take a picture and change to effect with a color wash on black and white to bring out the one thing you want to draw attention to. I took this picture of a neighbor boy because I thought it was funny. It is cute as is, but I wanted to play with it and I think the result is fun. Here is what I did:.jpg)
This is the camera shot. It's cute. But just for fun let's mess with it.
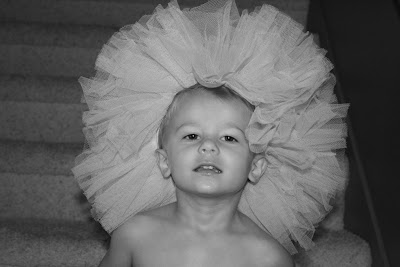.jpg) First desaturate the picture (Image>Adjustments>Desaturate). Its a little flat.
First desaturate the picture (Image>Adjustments>Desaturate). Its a little flat.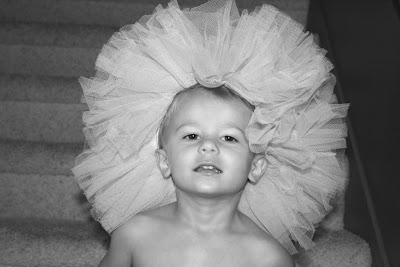.jpg) Adjust the contrast: Image>Adjustments>Bright & Contrast.
Adjust the contrast: Image>Adjustments>Bright & Contrast.Brightness: +20
Contrast: +15
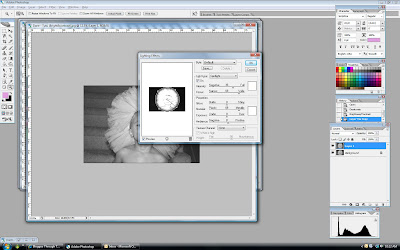.jpg) Now I want to add more focus to the face and tutu and less to the back ground. I will do this in a couple steps. First let's make another copy of this layer by pressing Control-J. Then let's put the focus on the face by going to Filter>Render>Lighting Effects. Under light type chose Spotlight. We want to brighten the face and darken the background. (The other types are fun too--play with it a little. Different compositions will warrant different light types). It will be funky looking, but that is why we made another layer, so reduce this layer opacity to 25%. Flatten image.
Now I want to add more focus to the face and tutu and less to the back ground. I will do this in a couple steps. First let's make another copy of this layer by pressing Control-J. Then let's put the focus on the face by going to Filter>Render>Lighting Effects. Under light type chose Spotlight. We want to brighten the face and darken the background. (The other types are fun too--play with it a little. Different compositions will warrant different light types). It will be funky looking, but that is why we made another layer, so reduce this layer opacity to 25%. Flatten image.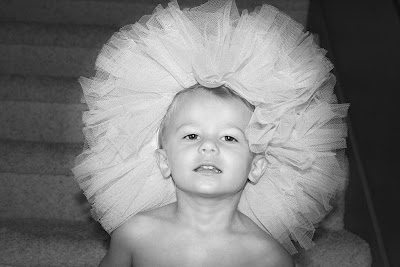.jpg) Next we want to sharpen the image a little to get the great detail in the face and tutu. Click Filter> Sharpen>Unsharp Mask. Set amount to 80% and radius to 4.5. Threshold:0.
Next we want to sharpen the image a little to get the great detail in the face and tutu. Click Filter> Sharpen>Unsharp Mask. Set amount to 80% and radius to 4.5. Threshold:0.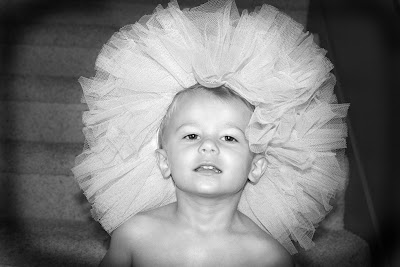.jpg)
Then to add more fun contrast I darkened the edges with the burn tool. And the picture is fun just like this, but I miss the pinkness of the tutu.
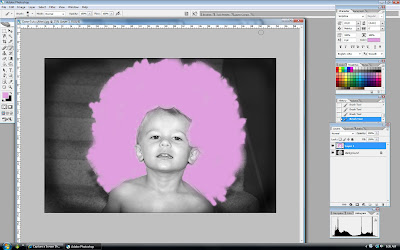.jpg) So, make a new layer. Then with the paintbrush paint on top of the tutu on the new layer, covering it well without going out of the lines too much! It will look funky like this.
So, make a new layer. Then with the paintbrush paint on top of the tutu on the new layer, covering it well without going out of the lines too much! It will look funky like this.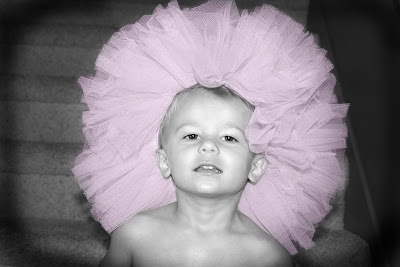.jpg) Then reduce the opacity on the pink layer to 30%. Flatten. Voila. A pink washed black and white of a cute little boy wearing a tutu on his head! What fun, right?
Then reduce the opacity on the pink layer to 30%. Flatten. Voila. A pink washed black and white of a cute little boy wearing a tutu on his head! What fun, right?Just so you remember where we came from, here are the three pics:
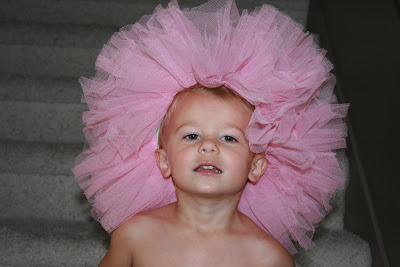.jpg)
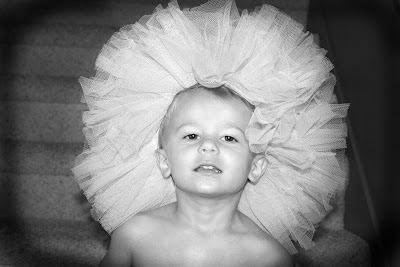.jpg)
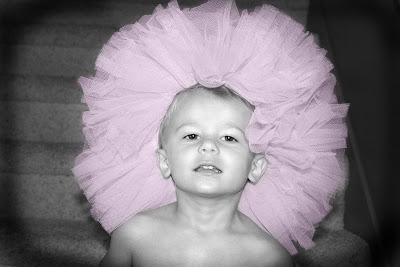.jpg) If you don't like pink you can make it blue or orange. But pink is fun. Did you learn anything new? I like to try out tools I don't use very often just to remind myself they are there. I hope this was helpful. . .or interesting.
If you don't like pink you can make it blue or orange. But pink is fun. Did you learn anything new? I like to try out tools I don't use very often just to remind myself they are there. I hope this was helpful. . .or interesting.

Into This. . .
For the face I took a picture in front of a solid colored wall. That makes cropping easier. I then uploaded my pic and opened it in Photoshop.
Select the background with the selection wand. This will get most of it but to really define the edge nicely you will need to switch to mask mode.
Select the mask mode at the bottom of the tool bar(right under the color selector). Using the paint brush tool to define the edge by adding to the red portion with black and subtracting with white, until just the head and whatever else you want in the silhouette is red.
Revert back to selection mode.
On the top menu bar go to Select and choose Inverse. This will change the selection from the background to the silhouette.
Add a new layer by clicking the paper icon next to the trash icon on the layer task bar at the right of your screen. Select the layer by clicking on it in the layer task bar.
Choose paint bucket tool from the tool menu.
Choose a color--I chose black--and fill in the selected area.
To make a neutral background, create a new layer and place it under the silhouette layer. Fill it white or the color of your choice for the background with the paint bucket tool.
Flatten image and save.

